Deck Railing
The Best 5-Step Guide To Build A Deck Railing
The safer, the better. This is a very important statement for us, especially when building a deck. If you want to enjoy the sunset, the breeze, and nature from the comfort of your backyard without the risk of falling, putting up a deck railing is the smartest thing to do, especially if there are children or pets around.
There is a variety of options for deck railing and which one is best will depend on the design, the location, and the budget. The Brazilian Lumber team is happy to help each client find the appropriate material for his or her project.
You can use hardwoods to build a railing for your deck, which will look good if you are looking for a uniform appearance. Even then, you could use hardwood posts with wire railing. But keep in mind that hardwoods are just one option. You can also make a good deck railing with other materials.
Our team had prepared the ultimate 5-step guide to install a railing on your hardwood deck. There may be some steps that are a little more tricky, but we hope that you will achieve the desired result with our assistance. If you have some basic carpentry skills, you’ll get it done!
Before getting started, be sure to check local codes to apply for all necessary permits. It is also important that you wear protective eye gear, work gloves, and sturdy footwear to avoid any injuries. Now you are ready to begin the process of DIY deck railing installation.
1. Know Your State’s Regulations Before Installing A Deck Railing
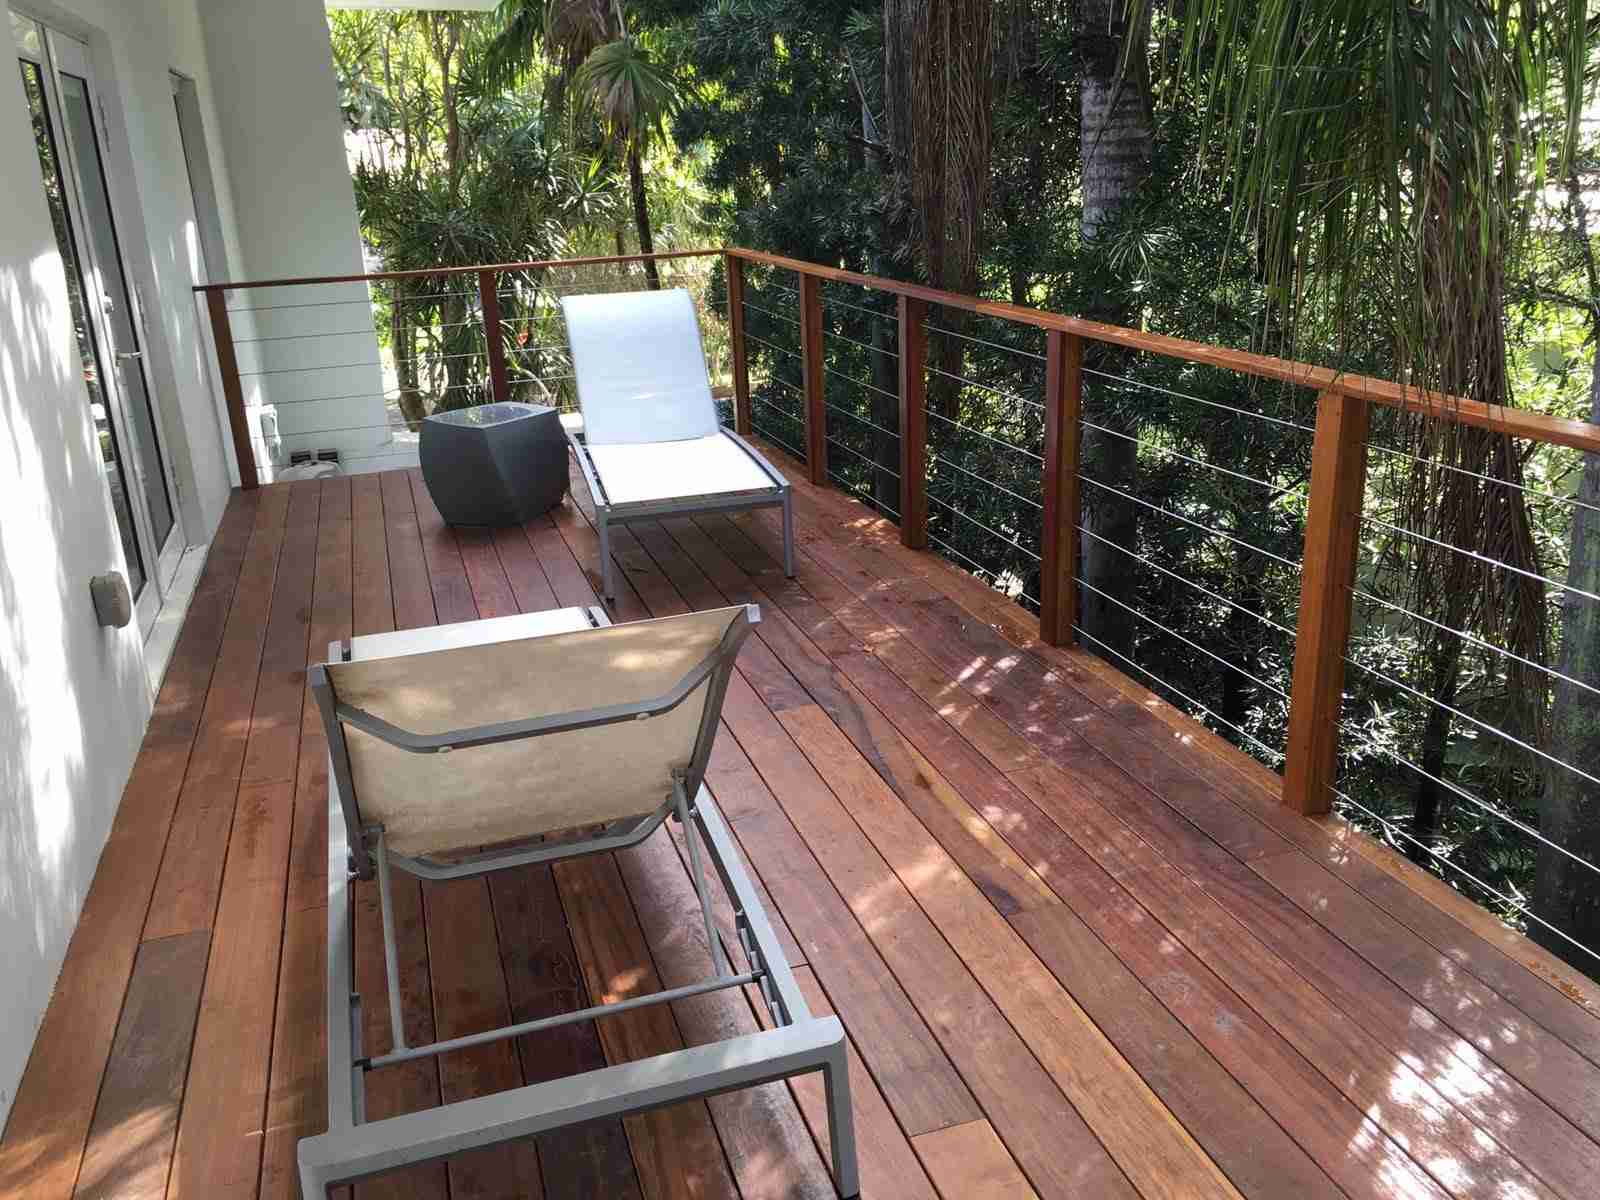
Getting familiar with local deck construction regulations is important before installing a deck railing. Even though each state has its own rules, most states set a minimum deck railing height of 36 inches from the surface to the top railing of the deck on a regular basis.
Other states may require a deck railing height of 42 inches which may increase to 48 inches depending on specific conditions.
2. Preparing And Installing Deck Railing Posts
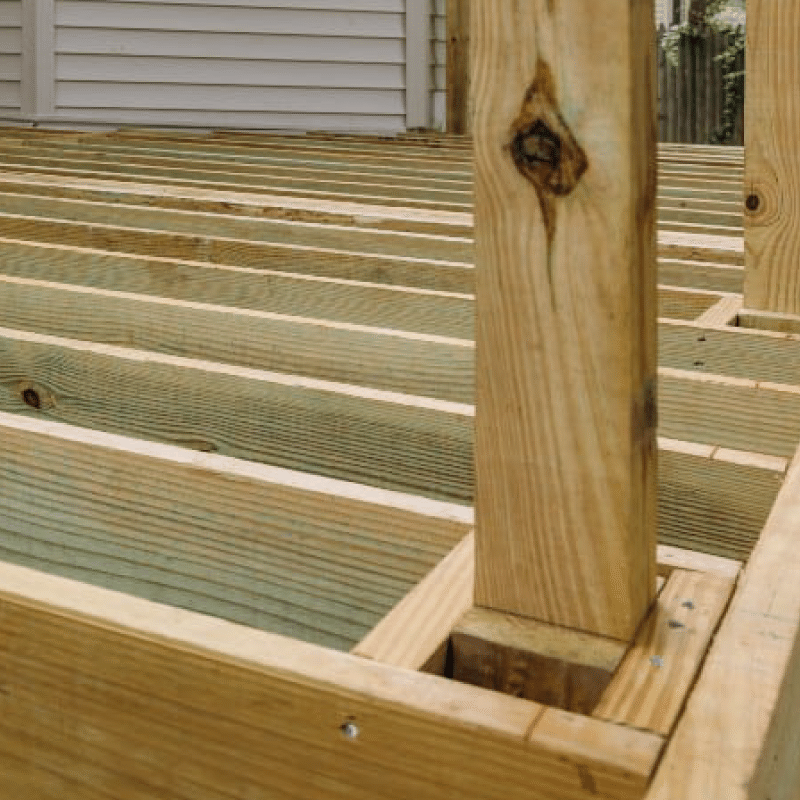
The first thing you need to determine is the number of posts you will need, depending on the design you want to achieve.
With the help of a tape measure, you can find out the distance from each straight outside edge of your deck. This will help you know how many 4X4 posts you need and how far apart each one should be.
We suggest putting a post at each corner and placing an extra support every 4-6 feet, depending on the size of the deck. Do not forget to mark the center of each post on the hardwood decking, so you know the exact spot where they go to make the installation later.
Next, measure the height of the posts, taking into account local regulations. The top rail should be at least 36 inches high. Add 4 inches to that measurement to attach each post to the deck with the appropriate fasteners. You may need to add an inch for the post cap at the top of the railing. Now you are ready to cut all the posts.
Then screw the posts to your deck where you have previously marked. Align the mark with the center of the post. Drill pilot holes before screwing to make the bolting process easier. Use a drill to make pilot holes through the overhang of the posts into the deck joists.
Attach the bottom railing between the deck posts with a deck railing connector. Use two spare pieces of lumber to support the bottom railing to your desired height while attaching it.
Some articles suggest applying a sealant to the posts before final installation, but this will not be necessary if you are using one of our premium hardwoods. Visit our website and take a look at our products and promotions. Our best-selling products are Ipe, Cumaru, Garapa, Jatoba, and Tigerwood.
These exotic hardwoods have amazing natural properties and extraordinary features that make them the best decking material. All of them have a long life span and are low maintenance.
3. Get Balusters And Wood For The Deck Railing

The next step is to build a handrail. For this part of the installation process, you will need some pre-cut pieces of wood, or you can also cut them yourself to size. Cut 1×3 or 2×4 lumber in lengths equal to the distance between the posts on your deck. You will need two pieces for each railing length to place, one at the bottom and one at the top.
Then, get plenty of 2×2 balusters to use for the railing. We suggest you place each of them at a maximum distance of 4 inches (10 cm). Keep in mind that the length of the balusters should be the height you want the railing to be.
You will also need wood strips. These thin strips should measure about 0.25 inches (0.64 cm) by 1.5 inches (3.8 cm). Cut them to exact dimensions, considering the distance between the deck posts. One strip will be required per section.
4. Assembling The Deck Railing Balusters
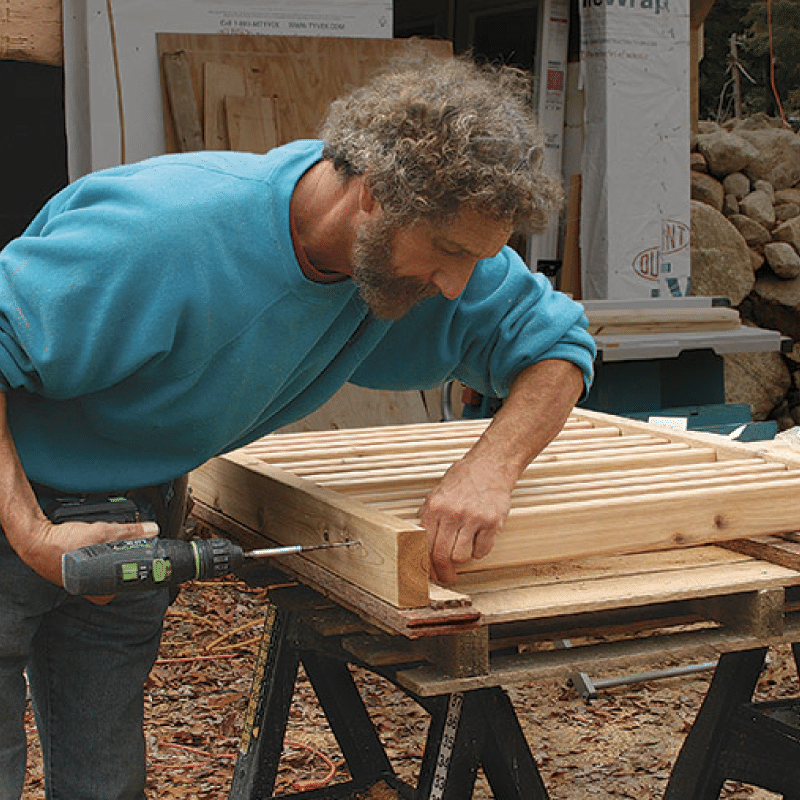
We are getting to the end of the installation process. Now it is time to attach the balusters near the ends of the wooden strips. Most local regulations establish that the balusters should be no more than 4 inches apart.
To attach the balusters, you can drive screws that are 1.5 inches (3.8 cm) to 2 inches (5.1 cm) through the strip and into their ends. For example, you can spread the balusters every 3 inches along the strip and then screw them in.
Sometimes it can be complicated to make the measurements to position the balusters correctly. Still, you can always use an online deck railing calculator to do the hard work. Another option is to call our team of professionals, who will be pleased to give you the support you need for your projects.
Once you have the top of the balusters attached to one of the strips, place another along its bottom. Drive screws that are 1.5 inches (3.8 cm) to 2 inches (5.1 cm) long into the balusters. This will make the structure more secure and the joints stronger.
5. Installing The Deck Railing
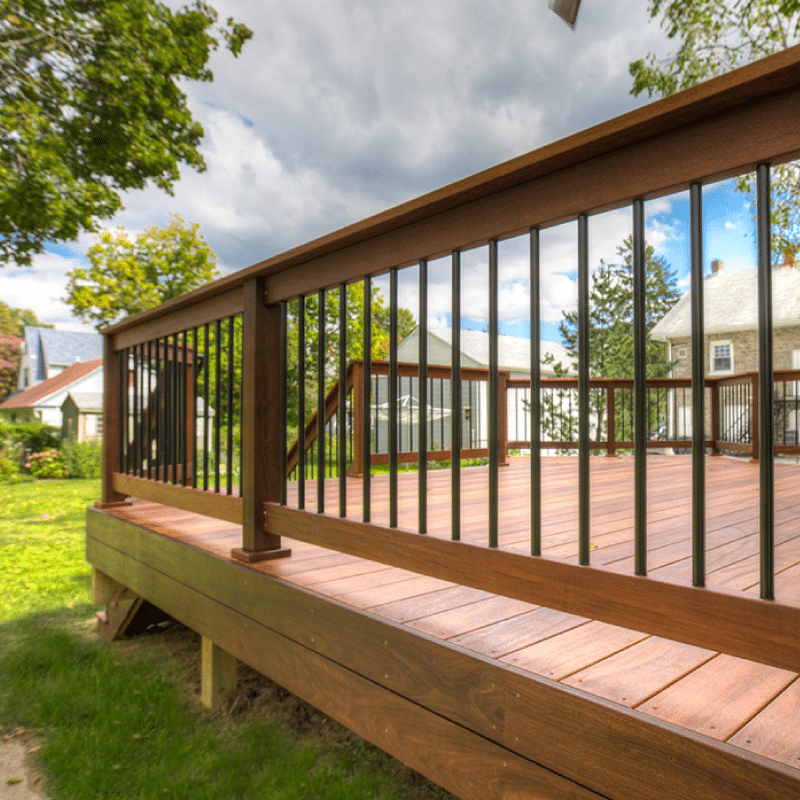
This is the last step to finally having a safe deck. Secure the bottom railing to the posts using a few pieces of wood to hold the base of the railing floor to your desired height.
Then drill angled holes through its bottom, toward the posts. Next, drive long screws through these holes and into the posts to hold the bottom railing securely. You can use 3- to 4-inch screws.
Now it’s time to attach the balusters to the bottom rail. Use the thin strip to connect them to the center of the bottom rail. Next, drive a few screws into the strip in the bottom rail. Then attach the top rail, and drive more screws from the bottom, through the thin strip, and into the bottom of the top rail. Now all the pieces are securely fastened.
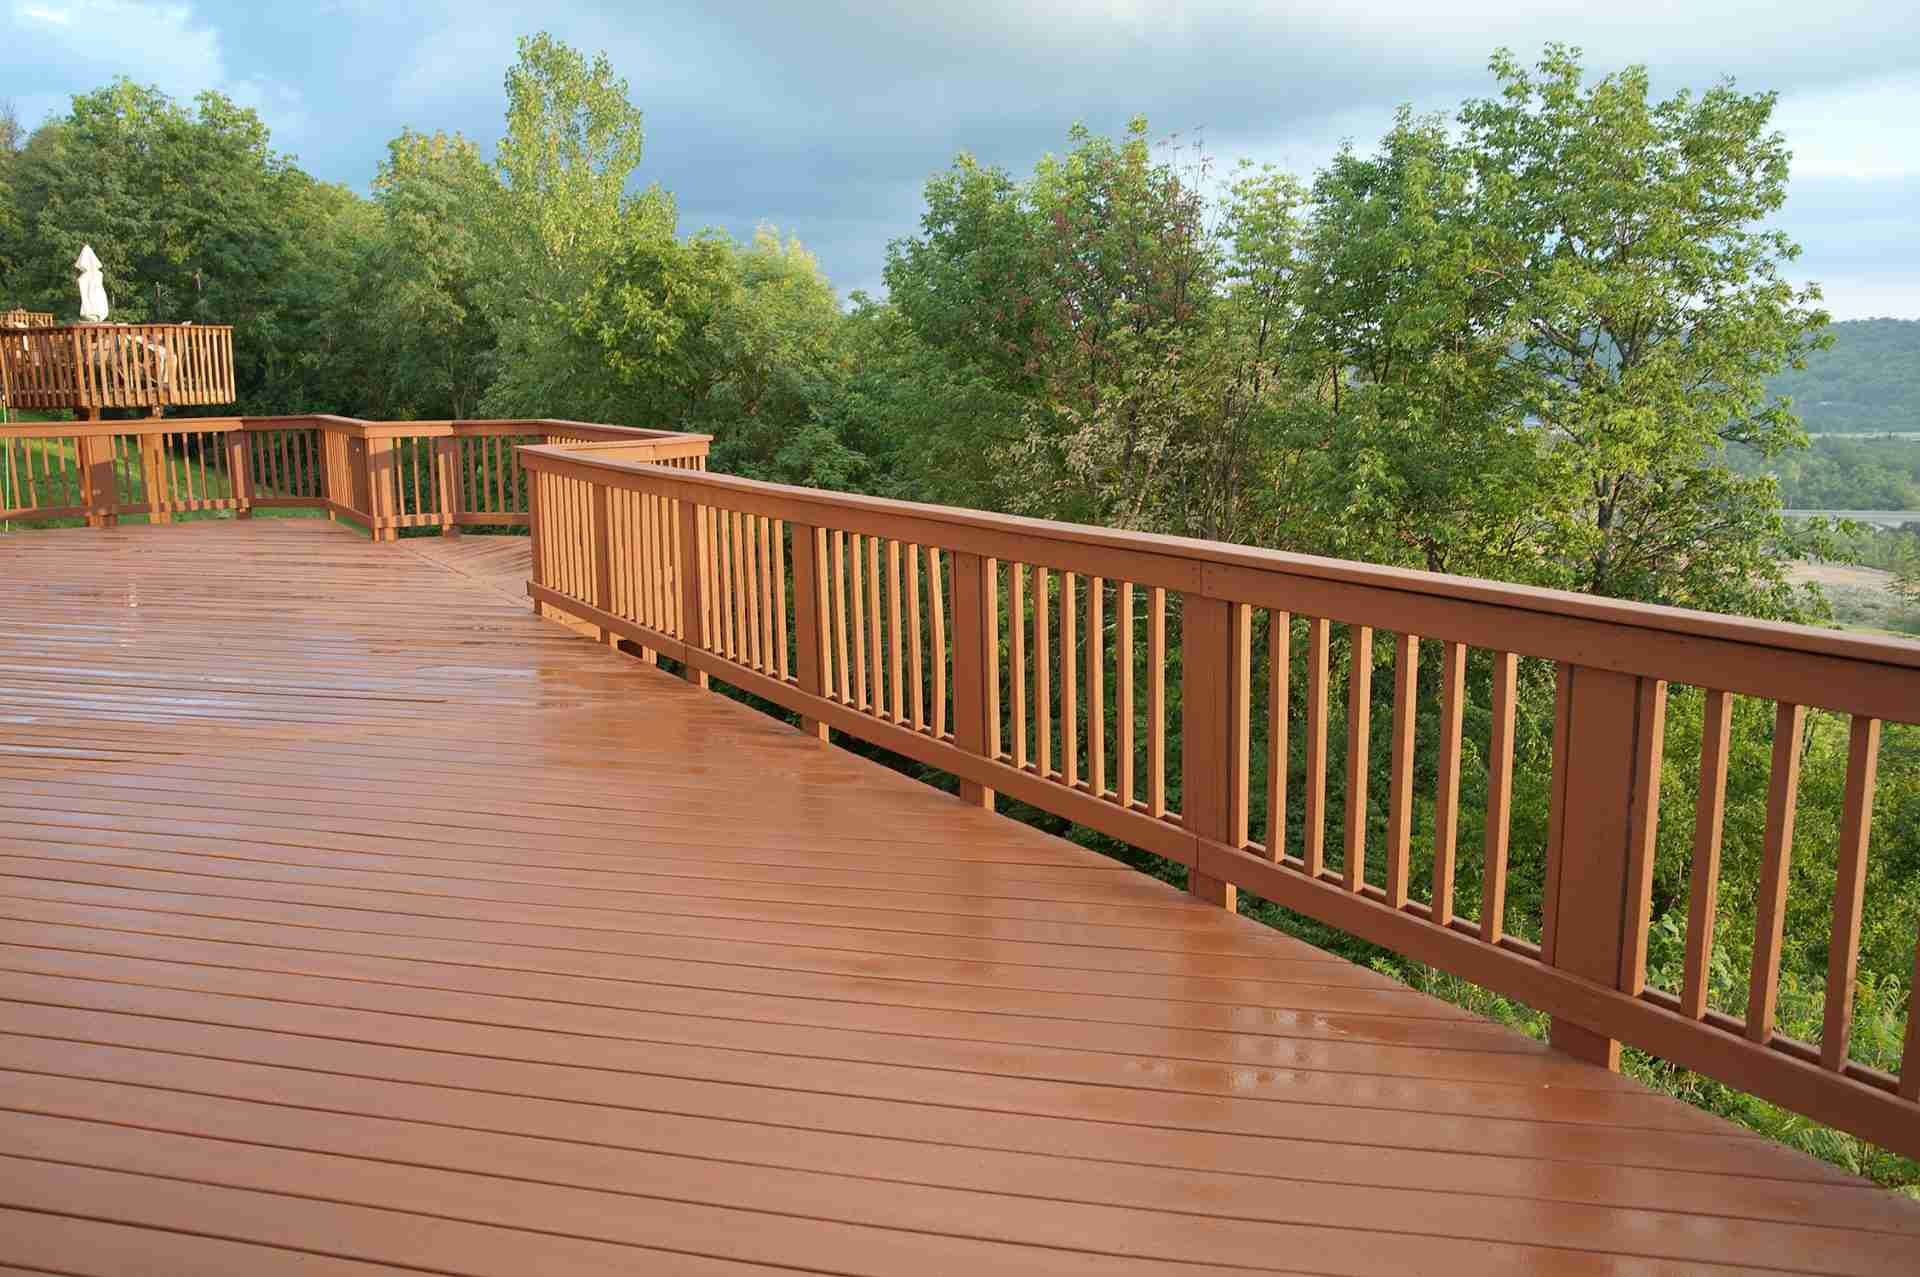
Repeat this procedure if your hardwood deck has more railing sections between other posts. Measure the distance between the posts, build the baluster assemblies, and attach them to the top and bottom railings.
In conclusion, it is always important to consider the safety factor when building something. Do a DIY deck railing installation on your hardwood deck and enjoy summer without worrying about falls. Follow these steps, inform about local deck construction regulations, and take a chance to try your first project. We will be here if you need any help.


