How To
How To Replace Hardwood Decking Boards: A Complete 9-Step Guide
If you are thinking of improving your deck -either because it’s old or damaged or because you want to make renovations at home – here we bring you a DIY tutorial to replace hardwood decking boards by yourself without having to be an expert.
If you feel identified, this practical and easy guide is ideal for you. Keep reading!
IMPORTANT – always check the underlying deck structure to ensure it is safe. You want to check the hardware as well as the wood structure.
Time To Make Some Changes
Has your deck seen better days? The good news is that there is no need to build a whole new deck if all you have to do is replace a few deck boards. This complete tutorial will guide you step by step on how to replace hardwood decking boards at home.
Whether you have one bad deck board to replace or many, the process is the same. We’ll show you how to save hundreds of dollars in lumber by splicing in boards instead of replacing the entire decking.
Knowing how to repair a hardwood floor plank can save you time and money and ultimately save your floor!
Say Hello To A Beautiful New Floor For Little Money
If you decide to replace your hardwood deck boards by yourself, congratulations! Doing that without being an expert can be a little intimidating, especially when the boards are installed using hidden deck fasteners.
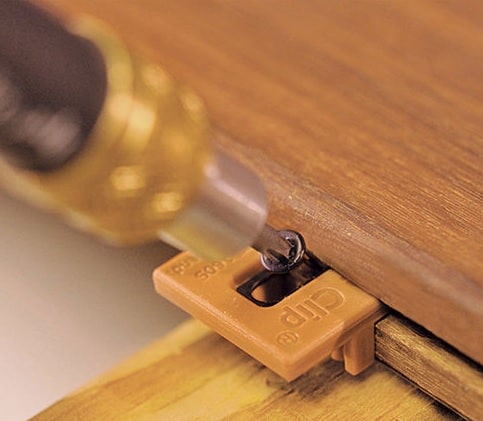
Hidden deck fasteners are precise that, hidden. They are secured on timber planks’ edges inside slot grooves and fastened through the plank into the sleeper below.
This uniqueness often tends to intimidate people from replacing damaged deck boards. The issue is how to remove a damaged plank when deck screws are hidden inside the fixing.
Replacing tongue-and-groove hardwood floorboards is easy with the right tools and a little know-how. Much of the work can be done in a day to make your floor look like new.
What You Might Need
This simple how-to tutorial will show you how to replace hardwood decking boards. So before getting started, pay attention to the materials you’ll need for the process.
Time:
A full day
Complexity:
Beginner – but with some carpentry experience (knowing how to use the tools is key!)
Tools Required:
- Saw (circular or miter)
- Drill
- 23-gauge pin nailer
- Pry bar
Materials Required:
- Hardwood Deck Boards
Extra tools (not strictly necessary):
- Hammer
- Extension cord
- Hearing protection
- Jigsaw
- Locking pliers
- Safety Glasses
- Sawhorses
- Tape measure
STAGE 1: Preparation before installation
Step 1 – Stain and Finish the New Board to Match
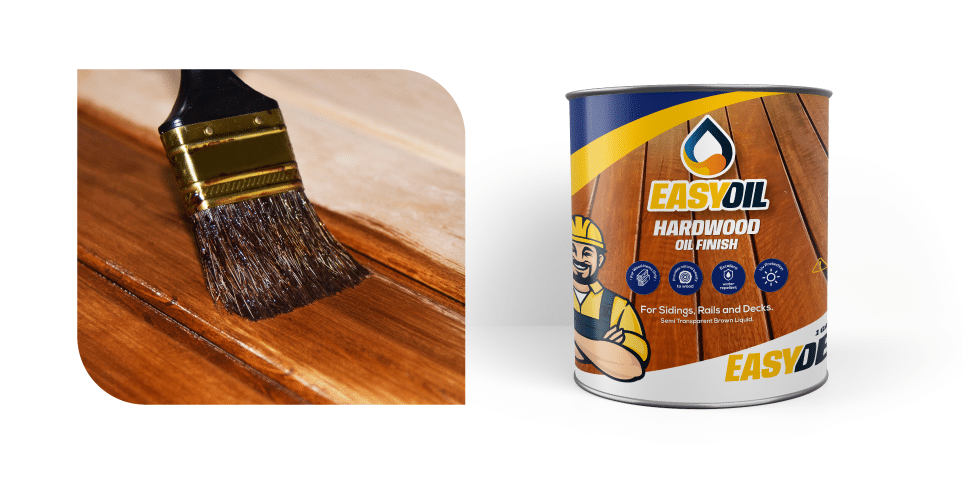
We recommend doing this step first, but it’s on you! Test some stain colors on new floorboards and apply some urethane. Once you find a good match, repeat that process on all boards for repair.
Pro-tip: Even when you use the same stain and finish, each board may look slightly different. Stain and finish several pieces and go with the best match.
Step 2 – Tape the Boundary Area
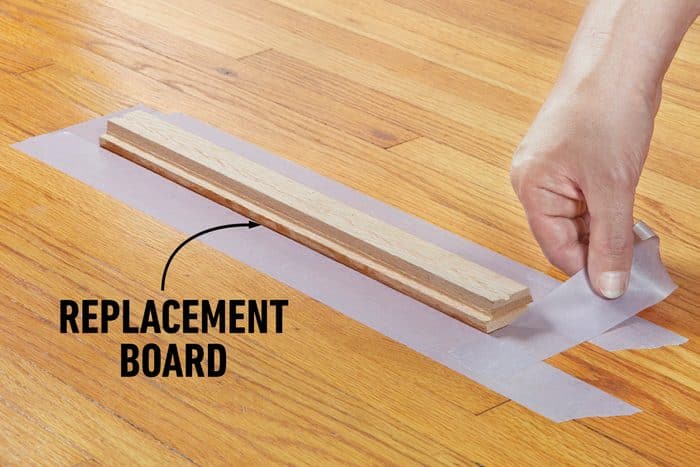
Inspect the damaged flooring plank and decide how much length to remove. Once you do that, place masking tape to define the boundary, using the replacement board as a guide.
Step 3 – Drill Relief Holes
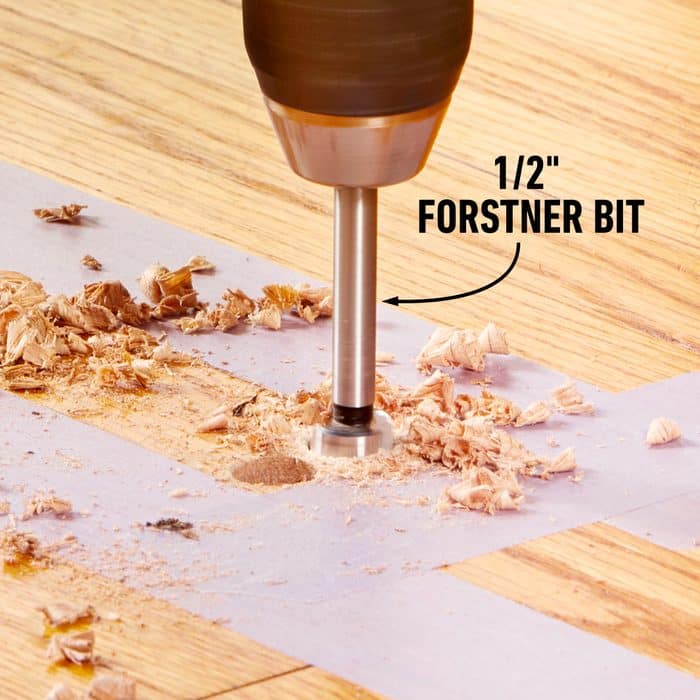
Drill three 1/2 in. holes with a Forstner bit close to each end of the board you’re removing. Don’t try to get the holes ideally on the butt joint — about 1/8 in. away is fine.
STAGE 2: Cut and Replacing
Step 4 – Make the Cuts

Cut the damaged deck plank that needs to be replaced down the center. If tight, making two cuts can help you remove the center portion of the plank more easily.
STEP HINT:
Use a circular hand saw to cut down the center of the deck plank to be removed.
Pro-tip: While making these cuts, you may run into flooring staples or nails, so use a blade with carbide teeth designed for demolition.
To avoid cutting through the subfloor, set the saw blade at most 1/16 in. deeper than the thickness of the flooring.
Step 5 – Remove the Damaged Board
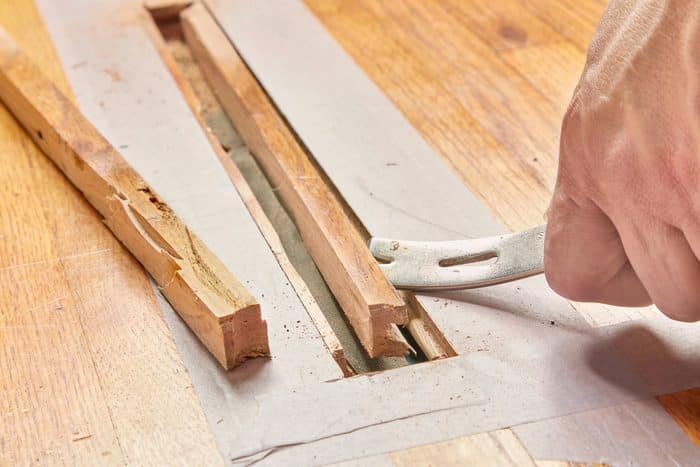
Remove the cut pieces with a small pry bar and unscrew the hidden deck fastener. Next, pull out the tongue-and-groove edges of the damaged board to remove side sections of plank (the side that the screw is running through may need to be pried out).
STEP-BY-STEP DIRECTIONS:
- Remove the centerpiece that was cut in the previous step.
- Remove side sections of the plank (the side that the screw is running through may need to be pried out).
- If the screw breaks, pound flush into the sleeper with a hammer.
Step 6 – Cut the Replacement Board to Length
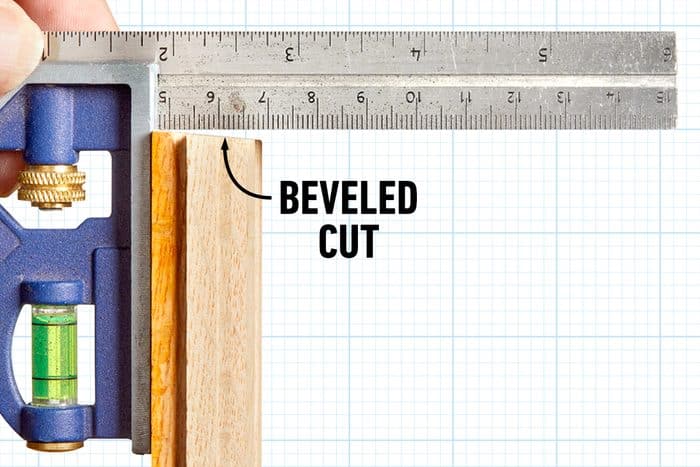
Cut the replacement piece to length with a miter saw. Make the cuts with a slight angle, so the piece will drop into place easier, creating a cleaner, tighter butt joint.
Step 7 – Glue the Boards
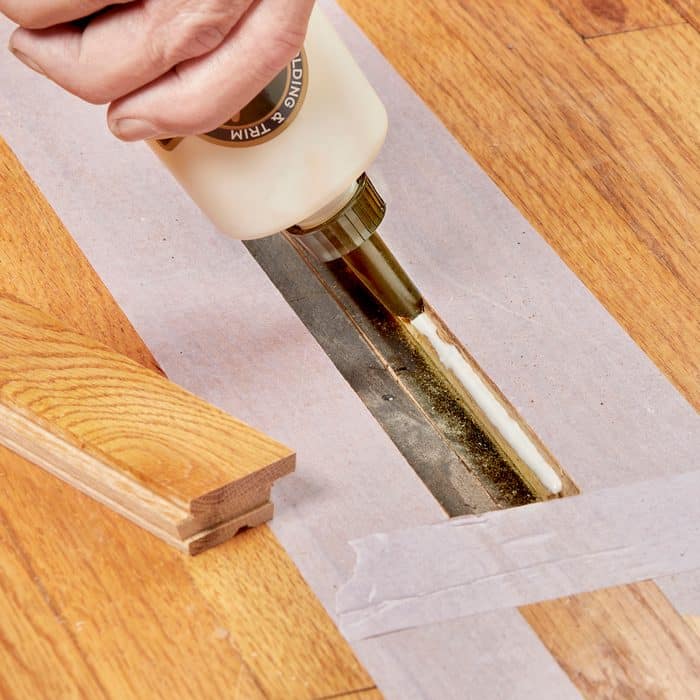
Spread glue on the tongues of the replacement piece and the adjacent board. Any wood glue will work.
STAGE 3: Installation of The New Deck
Step 8 – Install the New Board
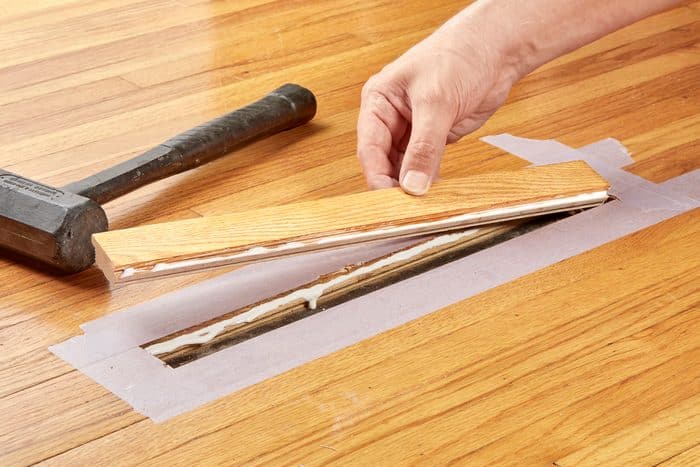
Install a new deck screw at a 45° angle into the side groove where you removed the Ipe Clip® fastener.
STEP HINT:
Installing a board with a groove on just one side of the deck board is optimal in this step.
Tip: Position the new boards, so the growth rings cup down. For a spotless cut, identify the top side of the board, flip it over, and make the cut.
To get a tight joint between old and new boards, angle the jigsaw slightly when cutting out the bad board so the angle on the remaining deck board is longer at the top.
Step 9 – Secure the Repair
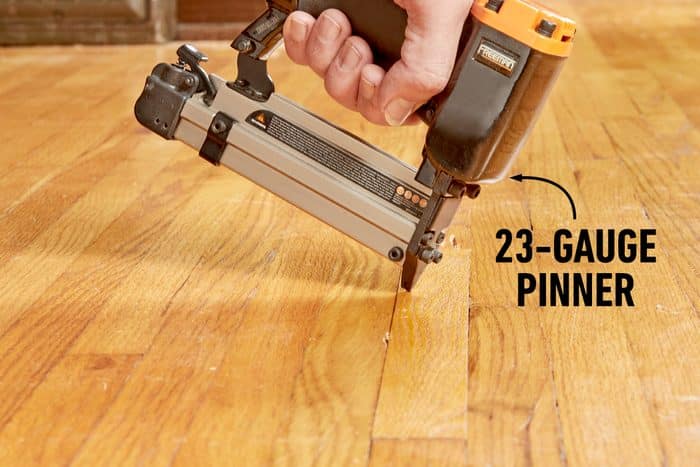
After gluing in the replacement board, add 23-gauge pins for peace of mind. Angle the gun slightly and drive in a nail every four inches.
STEP HINT 1:
Installing a board with a groove on just one side of the deck board is optimal in this step.
STEP HINT 2:
If installing a deck plank with side grooves on both sides of the deck board, make sure not to drive the fact-driven screw through the side groove. (That could crack the edge of the board.)
Extra Tips
Cut out the bad pieces, so the splices are offset by at least one joint width, and new boards are at least two joist spaces wide. Staggered splices look better and make a stronger deck.
Removing the bad sections and making the splices work can be a bit of a puzzle, so get off on the right foot by marking the replacement boards before starting.
If you want a close match between old and new deck boards, you’ll have to match the wood species. This is tricky because weathered deck boards look alike.
Remove a board, cut it with a circular saw, and smell the wood to identify the species.
Pressure-treated pine has a sweet smell, cedar has an aromatic fragrance, and redwood has a more intense aroma. Ask your lumberyard to cut a scrap from each species and match the smell to your own board.
Since you’ll be cutting random-length replacement boards, buy the longest boards you can transport; they’ll yield less waste.
Buy galvanized or stainless steel nails or screws long enough to penetrate the joints by at least 1-1/2. The length of the fasteners depends on the thickness of your decking.
Brazilian Lumber Is The #1 Importer Of The Best Hardwoods In The World
Here at Brazilian Lumber, we have the best in attractive and durable hardwood, with options such as Ipe, Cumaru, Garapa, Jatoba, and Tigerwood. They are also quick and easy to install. Still, most importantly, they have a natural beauty capable of instantly enhancing your spaces.
In addition, since our tiles are made from the best tropical hardwoods in the world, they have natural properties which make them durable, resistant to external factors, and low maintenance.





Leave a reply