Ipe Wood
The Best 7 Steps To Install Your Ipe Decking
One of the most functional outdoor features is a beautiful deck, especially when it comes to an Ipe deck, which becomes a gathering space for friends and family to create wonderful memories together.
This incredible hardwood comes from South America and is the hardest tropical wood on Earth. But, what really makes Ipe an extraordinary lumber and the perfect material for decking are these outstanding features:
- Strong and Durable
- Low Maintenance
- Weather and Insect Resistance
- Natural Look
- Long Life Span
- Sustainably Sourced
- Boosts your Property Value
In addition, Ipe does not scratch or splinter easily, does not become hot in the sun, and has a high coefficient of friction, making it perfect for outdoor and seaside construction.
Our Ipe decking is air-dried for outdoor use. This makes it suitable for many exterior applications such as decks, siding, benches, docks, playgrounds, flower boxes, or other outdoor furniture.
Now, before installation, it is important to specify that Ipe and other hardwoods are extremely dense. Therefore, it is mandatory to pre-drill holes and use screws to fasten the wooden board.
In this article, the Brazilian Lumber team is pleased to share all you need to know for a perfect installation, summarized in these 7 steps:
- Storing and handling your Ipe Hardwood
- Board gap spacing for your Ipe deck
- Ipe deck pitch
- Cutting and drilling Ipe
- End sealing Ipe deck boards
- Fastening the Ipe deck
- Finishing Ipe
1. Storing And Handling Your Ipe Hardwood
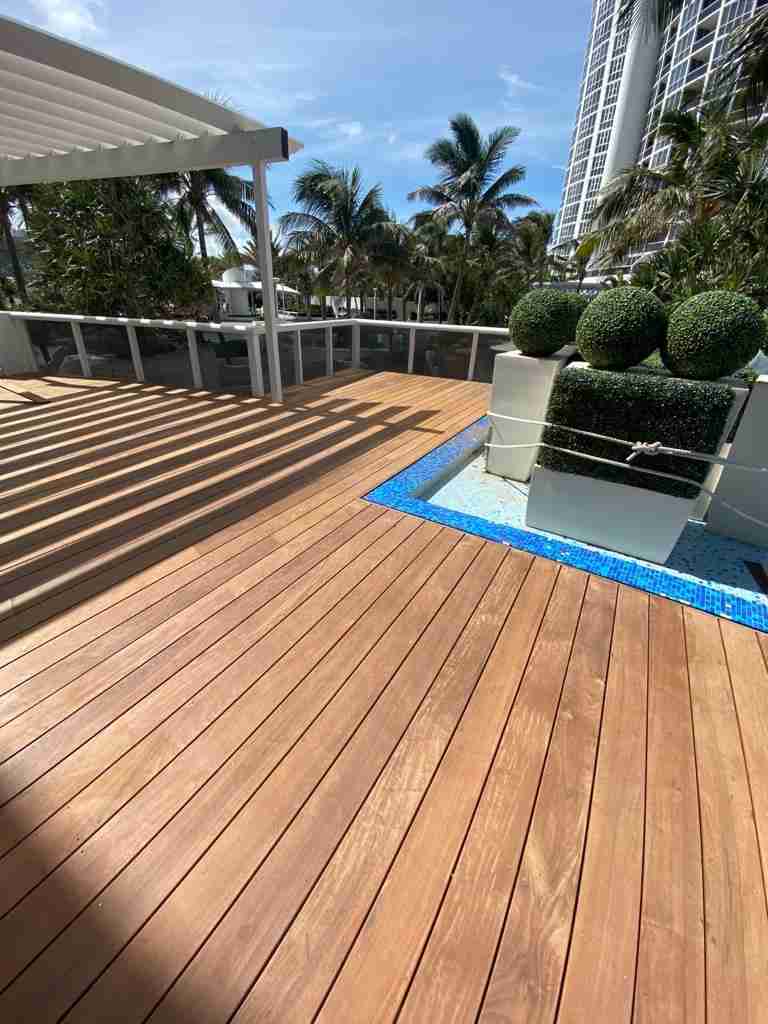
For proper installation, the first thing you should do is to let your Ipe wood rest for 7 days before starting the construction process. This is how Ipe acclimates to the temperature and moisture levels from where you live. Ideally, keep the ipe covered so that it does not get rained on.
However, do not cover the decking material with plastic or a tarp during this acclimatization period. Additionally, to ensure adequate ventilation of the boards, lay the deck on wooden blocks.
Always keep material dry until installation. And also, use wooden washers between the plank layers to allow proper air flow.
2. Board Spacing For Your Ipe Deck
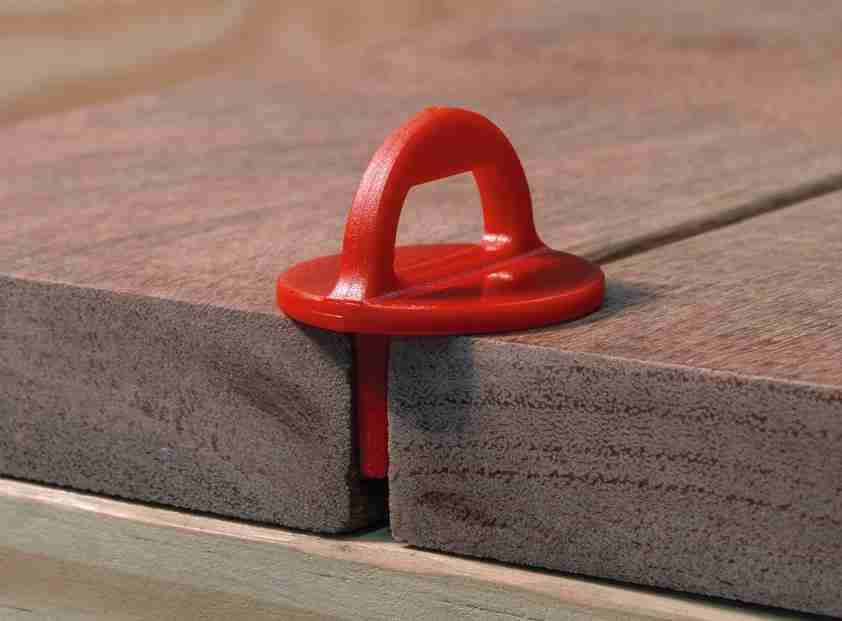
Whenever installing decking, be sure to leave a 3/32″ gap between, son the deck boards. The variation of the spacing is to ensure that the deck has enough room to expand and contract. The environment where it will be installed is also important.
WiseGuides® Deck Board Gap Spacers by DeckWise.com are a great addition to any deck building toolbox. The versatile design allows builders to use these board spacers in any position between boards. Finding the right spacer is now easy with the bright color-coded design.
Average shrinkage is approximately 1/8 “on 4” wide boards and 1/4 “on 6” wide boards. Shrinkage can vary depending on these three factors:
- Climate
- Installation site
- Use of the wood
It is very important to understand that ventilation is the key to a good installation. We recommend a minimum of 18″’]’of free air under the joists, along with open sides for adequate cross ventilation.
The deck design must allow adequate cross ventilation under the deck to ensure stability, prevent cupping, and minimize natural wood movement.
3. Ipe Deck Pitch
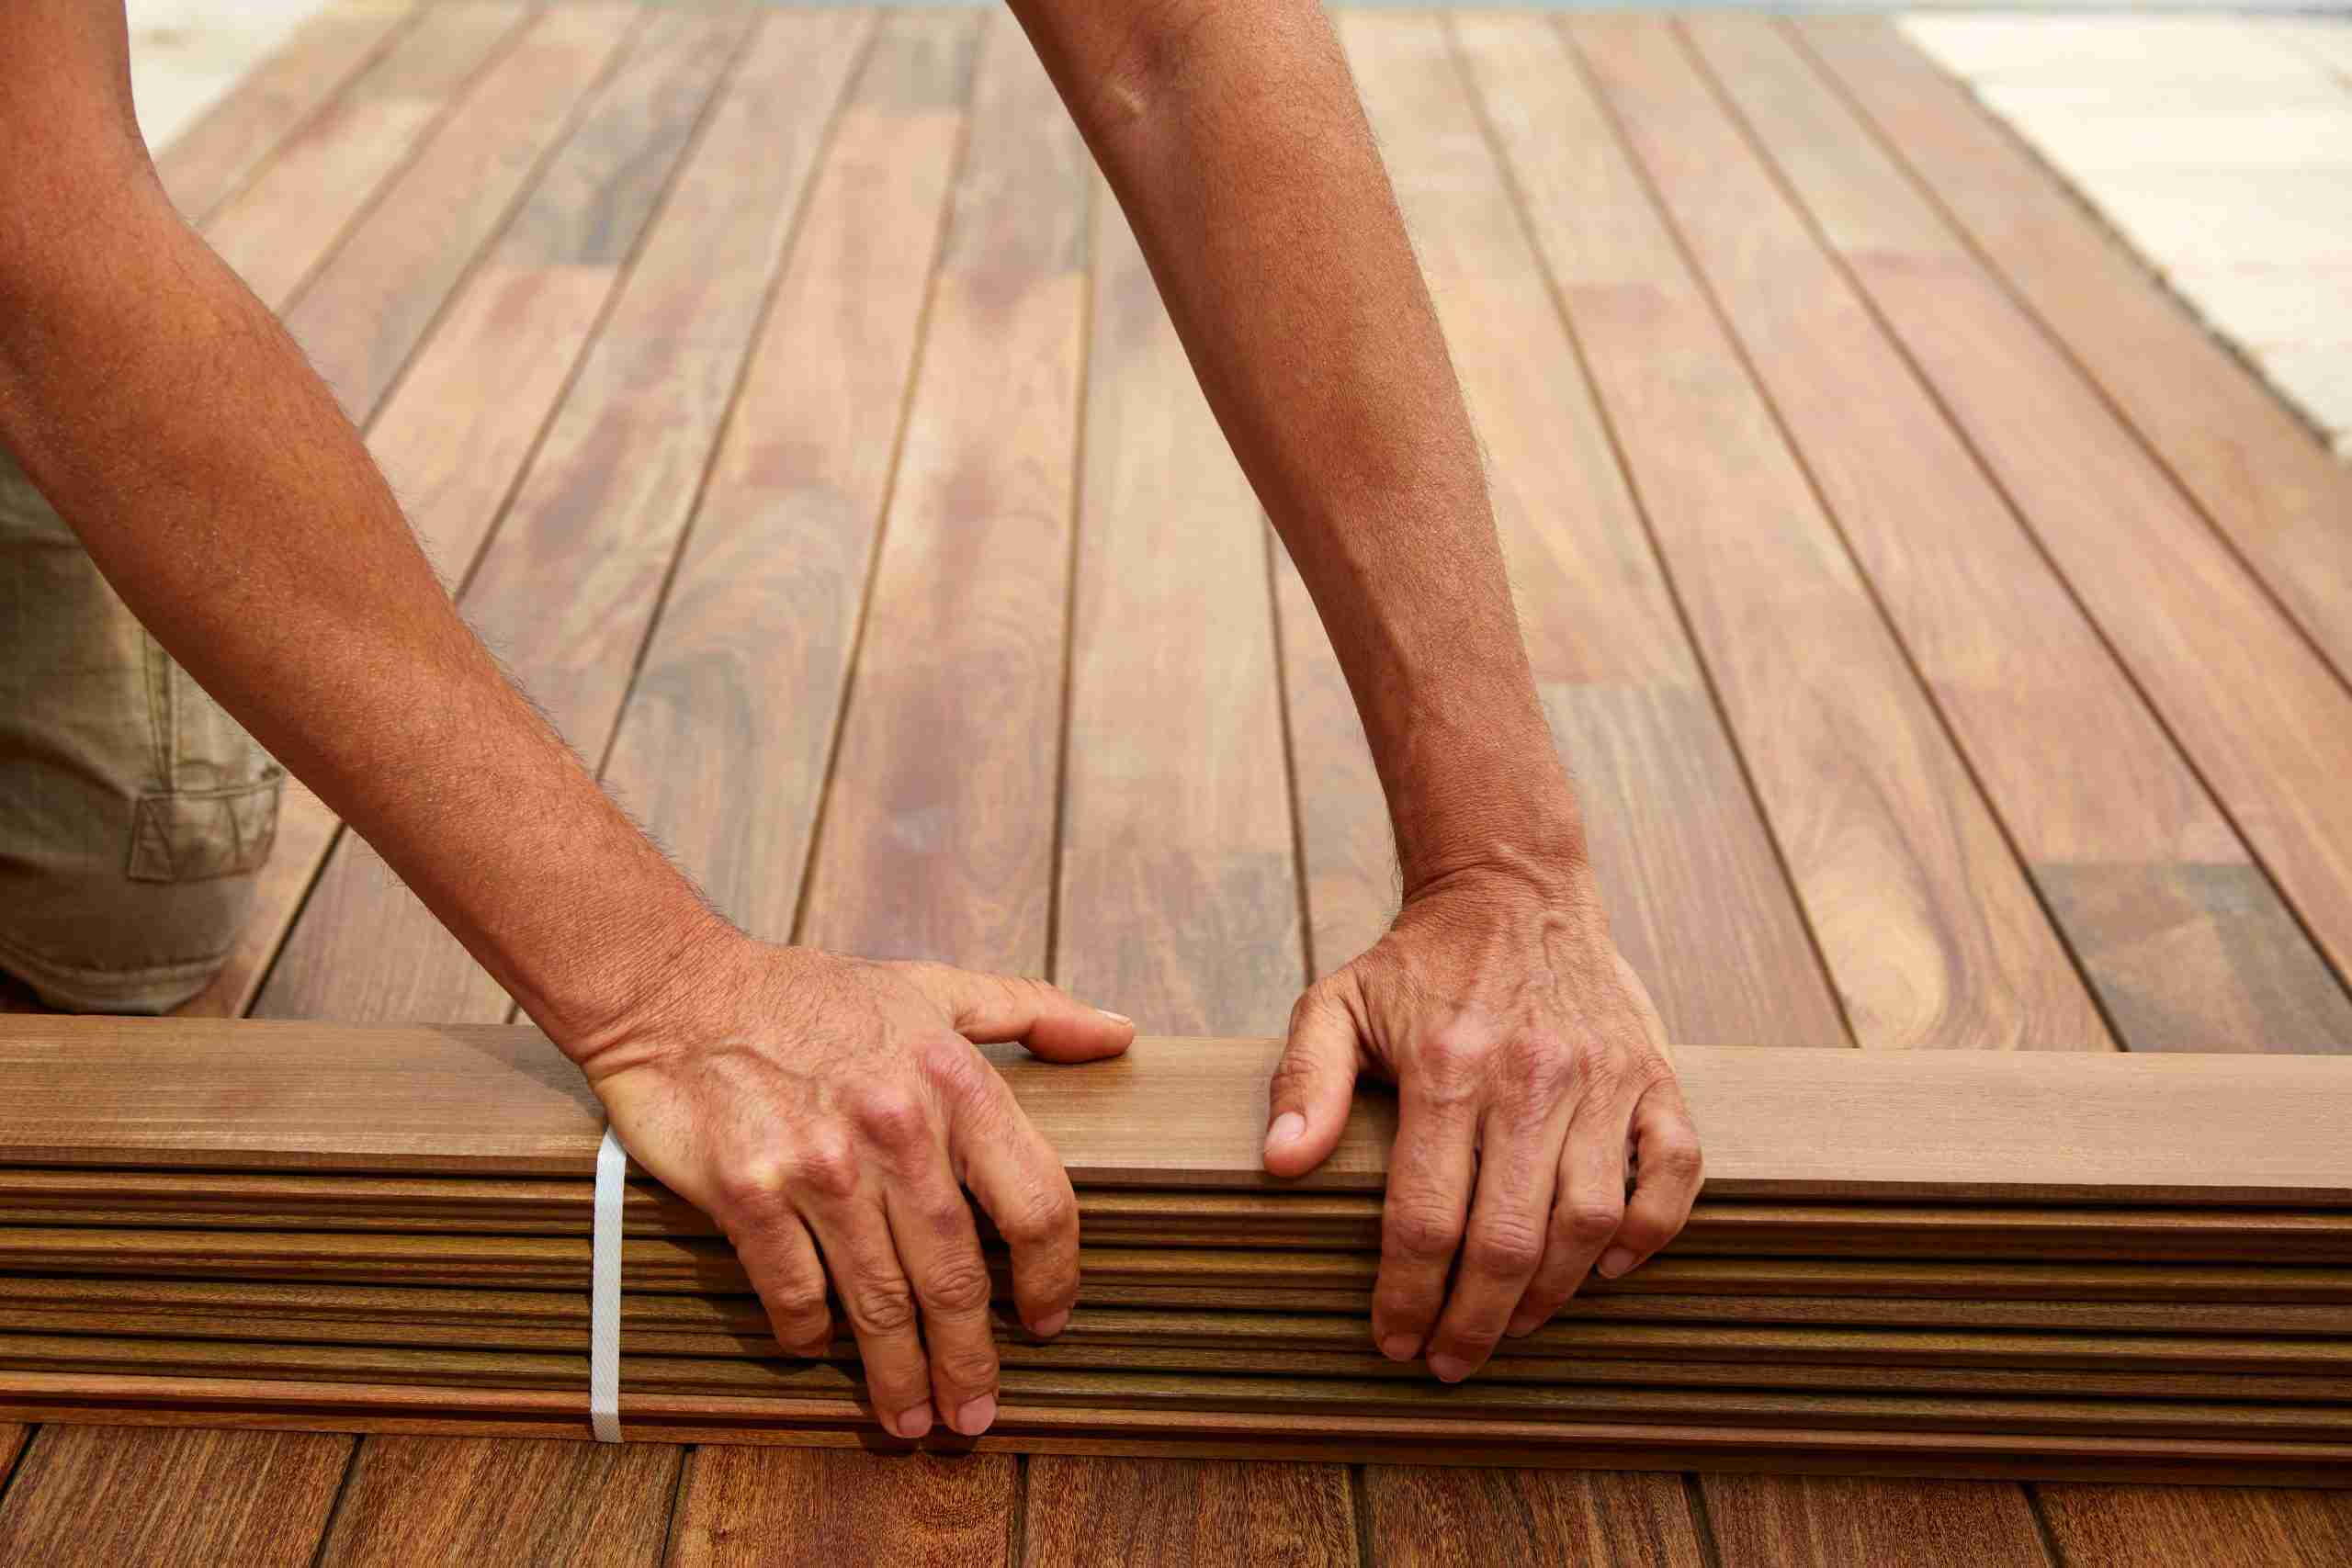
Ensure the deck substructure is pitched away from the house to allow for proper water runoff. We recommend a minimum pitch of a 1/4″ per 10 ft. for proper drainage on standard decks.
Framing material should be placed with the crown up to allow water to drain from the surface material. Framing lumber can exceed 1/8″ or more and may produce standing water. A great way to add an additional layer of waterproofing protection to the frame is by adding joist tape.
In addition, hardwood decking should never be installed directly over concrete due to moisture retention. Any type of hardwood decking installed over new or aged concrete decking will affect the wedge and/or crown of the deck.
4. Cutting And Drilling Ipe
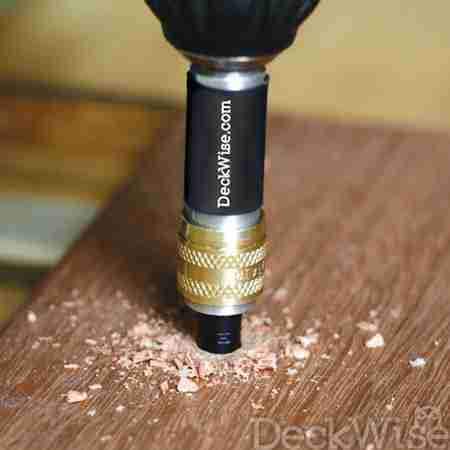
Due to the extreme hardness of the material, it is advisable to use high-quality carbide tipped saw blades for cutting. For example, Brad point drill bits or forstner bits provide cleaner holes than standard HSS twist drills
5. End Sealing Ipe Deck Boards
In fact, fresh cuts must be sealed with an end grain sealer within 24 hours. We offer an Ipe sealer from DeckWise, a brand for which we are an authorized distributor, that only needs to be applied with a brush and dries clear.
Do not apply it on the walking surface of the decking. Any sealant that reaches the deck surface should be cleaned and removed immediately.
6. Fastening Ipe Decking
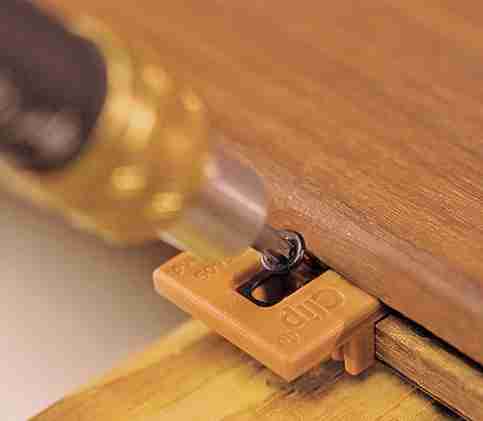
When pre-drilling decking is required, it is important to pre-drill each hole with the appropriate drill bit for your screw size.
Use only stainless-steel fasteners to fasten hardwood decking. We suggest the use of 305 or higher grade stainless-steel screws to avoid discoloration to the wood surrounding the fasteners.
We highly recommend our DeckWise Ipe Clip hidden deck fasteners. This material keeps the deck surface and finish free of defects and stains.
This deck fastening system also allows the wood to expand and contract across its width, without putting undue cutting pressure on the screws.
There are other common methods for fastening your Ipe deck, and here are our suggestions:
1.Stainless-Steel Screws: Fastening the decking to the substructure with screws has long been the preferred method. Screws provide a strong and secure connection for fastening wooden boards, as well as being a cost-effective option.
When this method is chosen, it may be necessary to use screw plugs for a more aesthetic result. We have many alternatives in different colors on our website.
2.The CAMO® Edge Hidden Fastener System: This method will help you to perform a faster installation and will make it easier to repair or replace the board if necessary.
In addition, we recommend that you pre-drill your boards to avoid cracking the wood. If you do not do this, the boards may split due to their density and end up loosening.
3.The CAMO® Hidden Clip System: This excellent system allows the wood to expand and contract, preventing imperfections in the deck and avoiding too much pressure on the screws.
It is designed to help keep the wood safe from water damage and splinters. Be sure to follow all the directions that come with your product for good results.
7. Finishing Ipe
Due to the natural density and alkaline properties of Ipe, many oil and water based finishes do not dry properly when applied. We recommend testing each product on one of the boards to determine compatibility before applying it to the entire surface.
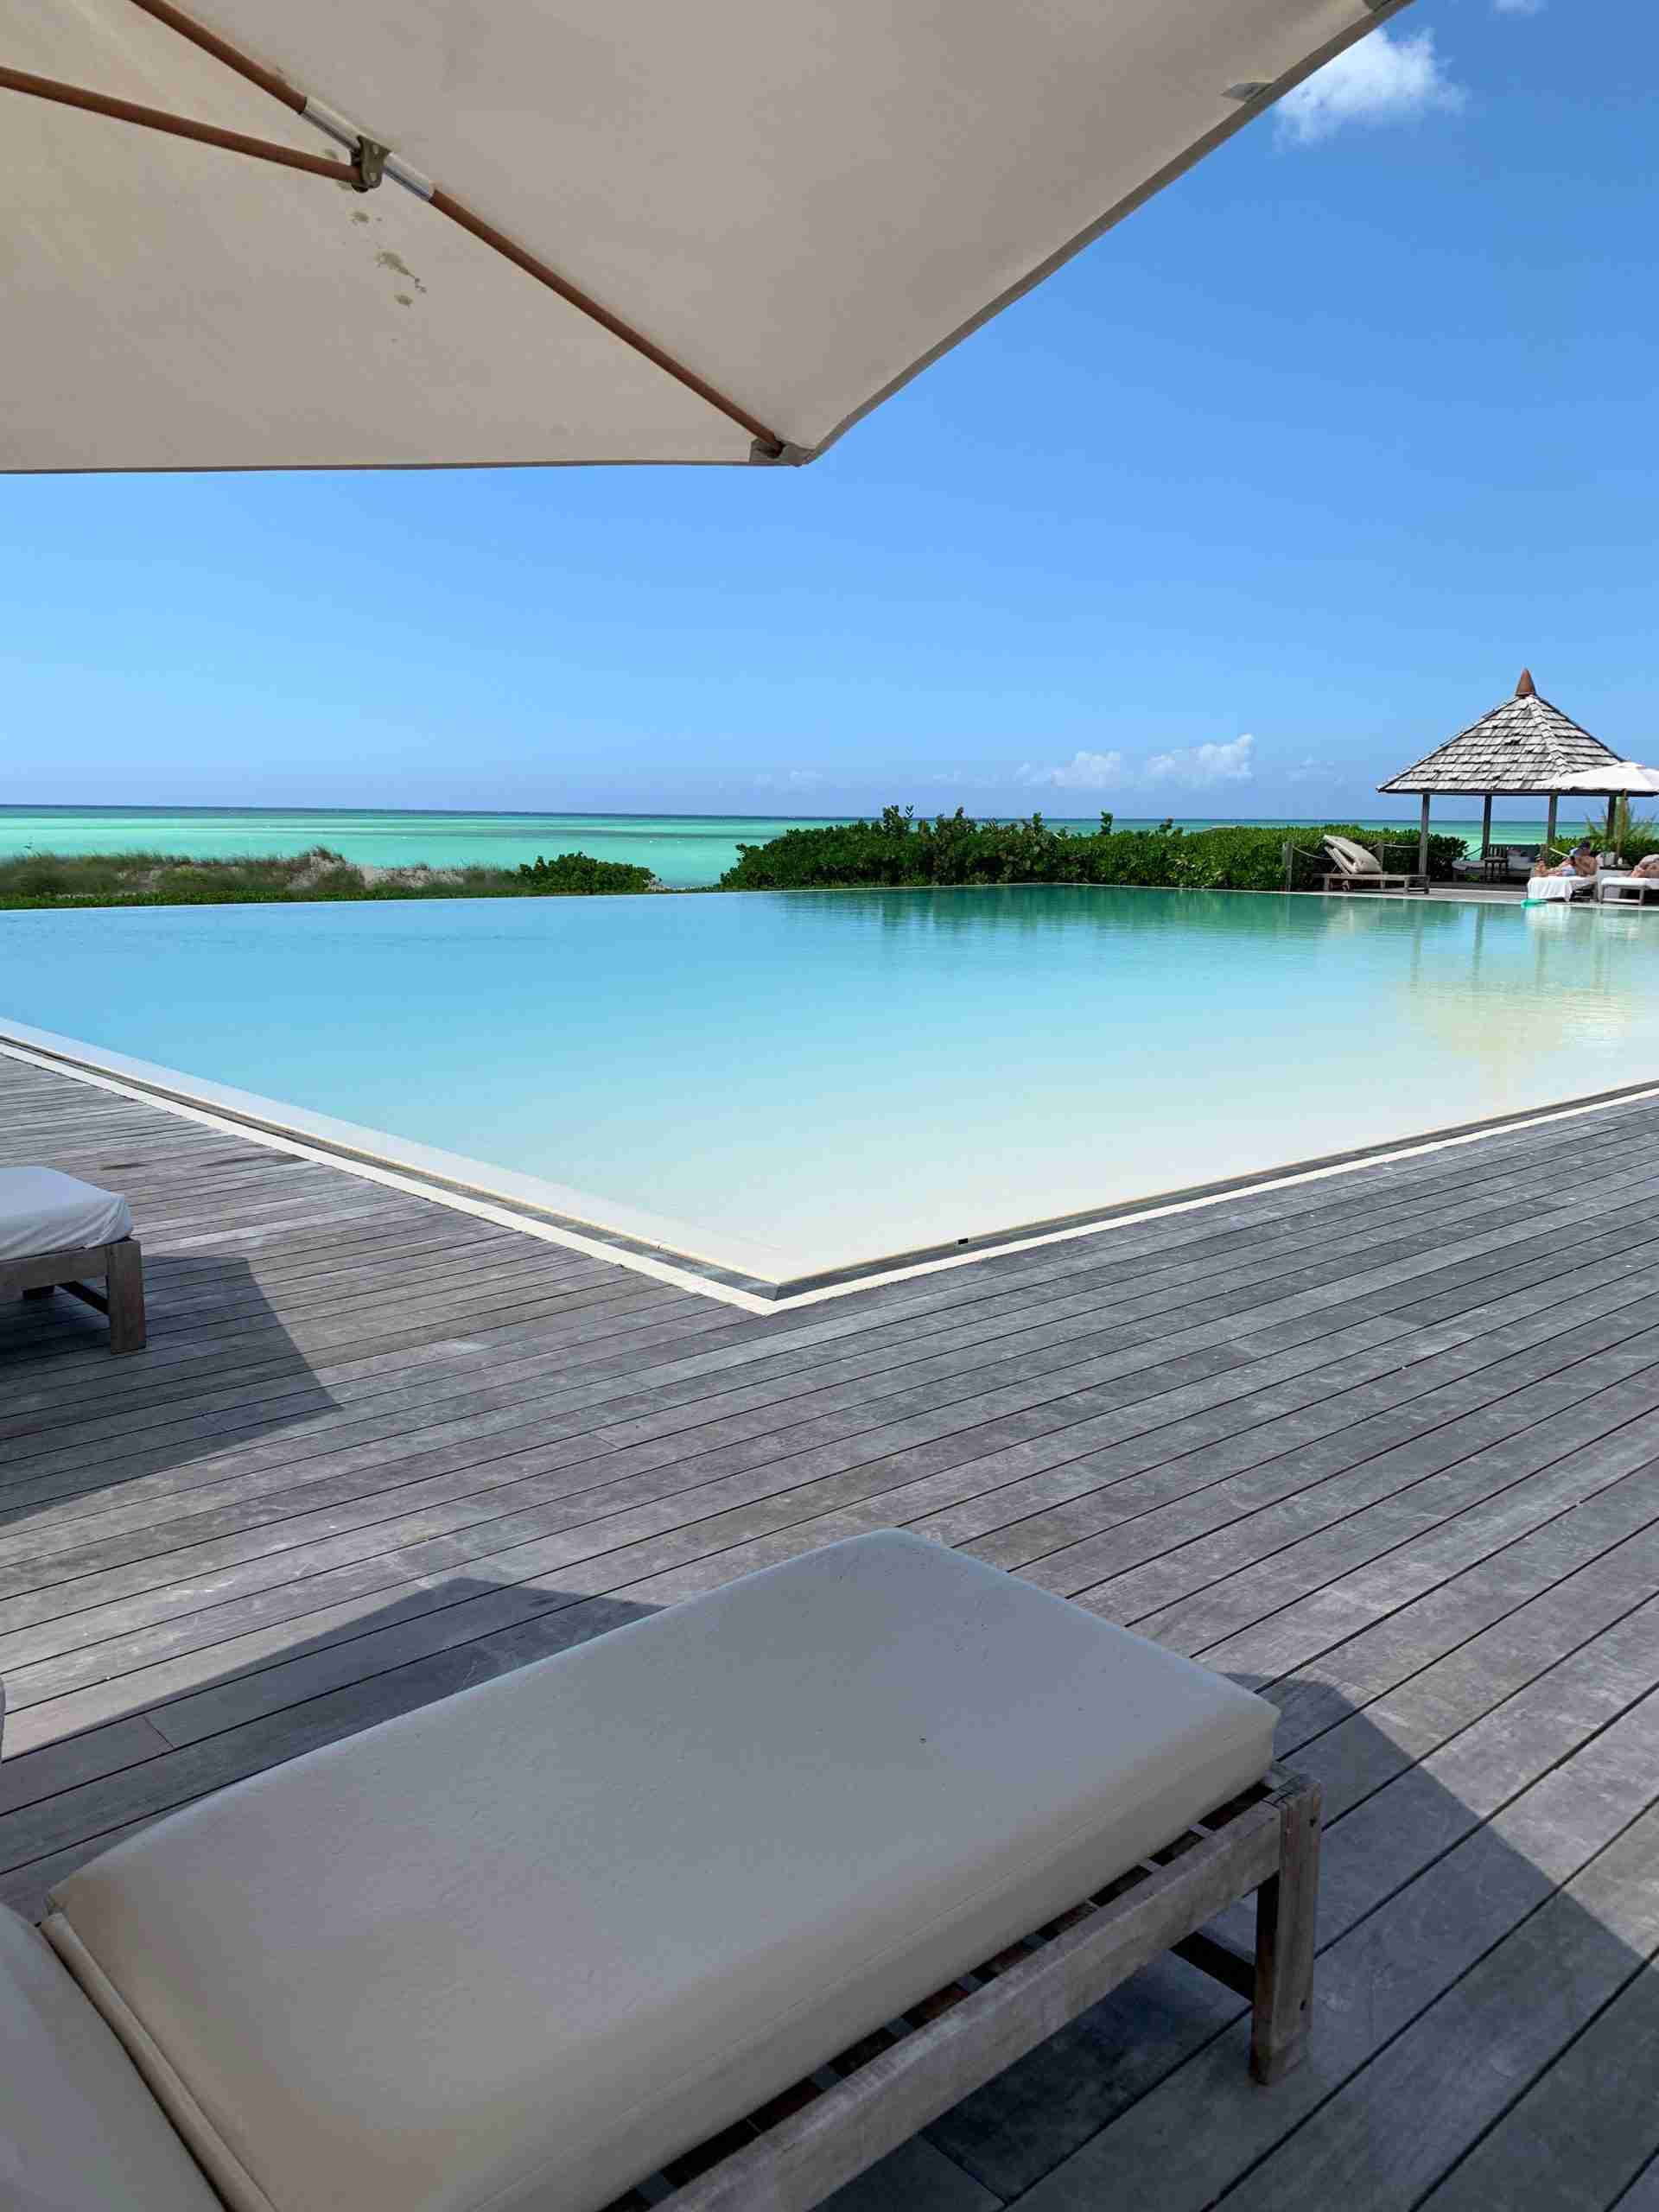
We recommend using DeckWise Ipe oil every two years or more often if your deck is directly exposed to the sun. This preserves the attractive dark brown color of the hardwood. If you choose not to apply any product to your deck, after a while it will turn into a beautiful silver-gray patina.
However, we suggest applying a coat of Ipe Oil® shortly after laying the decking, regardless of the desired final color. This can help the material retain its oil and stability.


