")
 Free Shipping


DeckWise Deck and Wood Cleaner Part 1 32oz
DeckWise Deck and Wood Cleaner Part 1 32oz
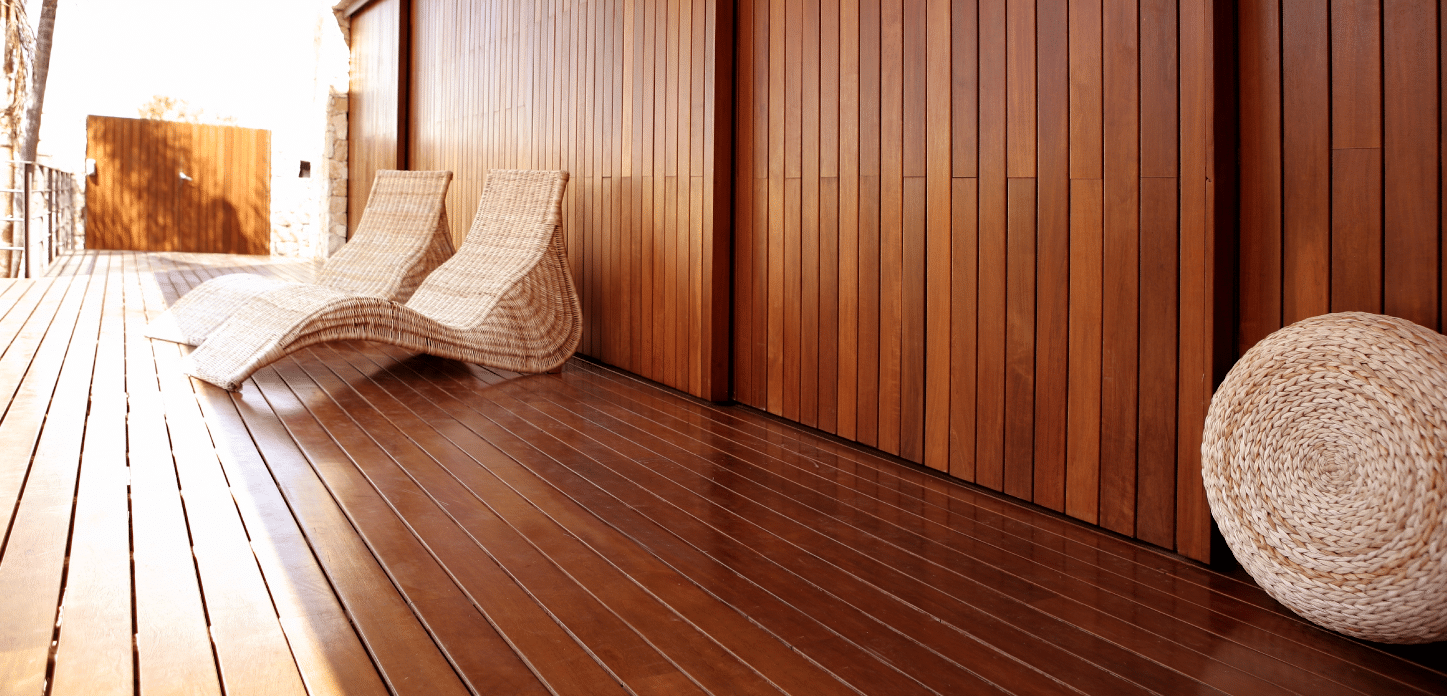
DeckWise Deck and Wood Cleaner Part 1 32oz is a concentrated powder that is formulated specially to cleanse exterior wooden decks, wood fences, patios, terraces, log homes, and other outdoor wood structures. The large 32 oz container packs a big punch, covering approximately 1000 square feet. Each 32 ounce container will mix approximately 10 gallons of deck cleaner.
Read More
DeckWise Deck and Wood Cleaner Part 1 16oz
DeckWise Deck and Wood Cleaner Part 1 16oz
DeckWise Deck and Wood Cleaner Part 1 16oz is a concentrated powder that is formulated specially to cleanse exterior wooden decks, wood fences, patios, terraces, log homes, and other outdoor wood structures.
The16 oz container packs a big punch, covering approximately 1000 square feet. Each 16 ounce container will mix approximately 10 gallons of deck cleaner.
Note: Tougher jobs may require multiple cleanings or a stronger mix, so the coverage may vary. DeckWise wood cleaner is Biodegradable, easy to handle and safe.
Properly preparing wood before staining is one of the most important steps in the process. Luckily DeckWise Part 1 makes it easy!
Would you like to talk to a hardwood decking specialist? We would love to help you 1.877.203.2004
Read More
Wood
Wood Finishing – A Complete Guide
Wood finishing is the process of protecting and improving the appearance of wood surfaces. Whether you are working on furniture, doors, cabinets, or small DIY projects, finishing is what gives…
Read More
Composite Decking
How to Clean Trex Composite Decking? A Simple Step by Step Guide
Trex composite decking is one of the most popular decking materials used for outdoor spaces. Many homeowners choose Trex because it is durable, long lasting, and requires less maintenance than…
Read More
Ipe, Hardwood
What Is Ipe Wood? The Complete Guide
If you have ever searched for premium decking materials, luxury outdoor lumber, or long-lasting hardwoods, you have likely encountered Ipe wood. It is often called the gold standard of natural…
Read MoreDecking Materials
Best Hardwood Decking Finishes for 2025: Expert Picks and Uses
A beautiful hardwood deck is more than just an outdoor feature. It is an investment in your home’s value, style, and enjoyment. Whether you are a homeowner protecting your outdoor…
Read More
Flooring, Hardwood
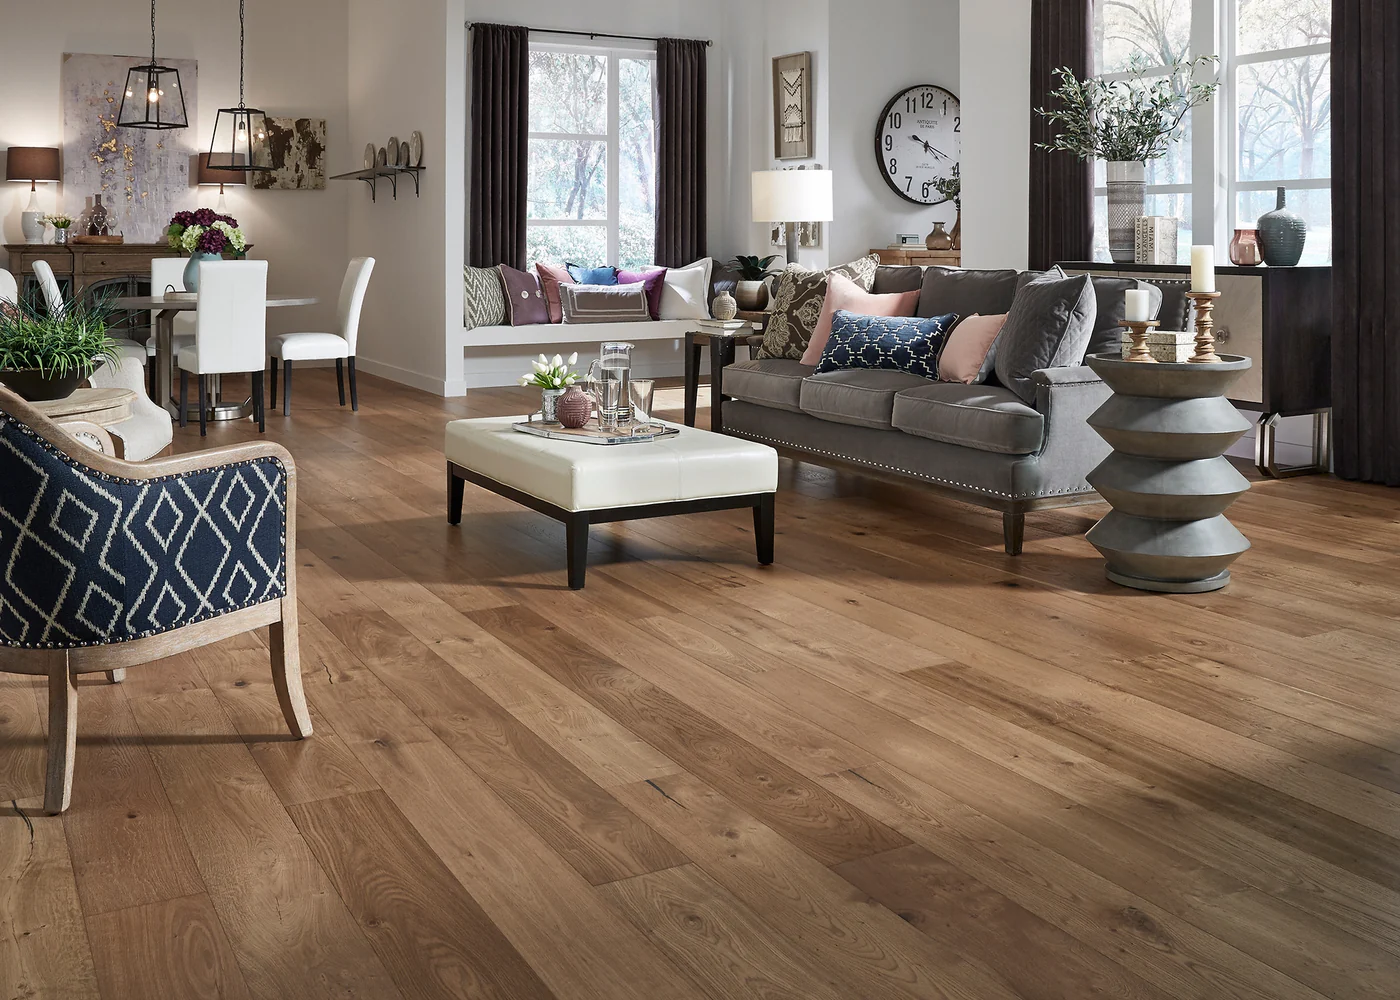
Engineered Hardwood vs. Solid Hardwood Flooring: Which Is Best for Your Home?
Hardwood flooring is one of the most timeless, elegant, and value-boosting choices for any home. But if you’re planning to install new wood floors, there’s one major decision to make:…
Read More
Weather resistant woods
Should You Waterproof Wood?
Wood is a great material, but should you waterproof wood to protect it from damage? It doesn’t always handle moisture well, and without proper protection, water can seep in, causing…
Read More
Wall Panels
How to Clean Wood Paneling Walls?
Wood paneling walls add warmth and character to any home, but they require regular upkeep to maintain their beauty. Over time, dust, grime, and moisture can accumulate, making them look…
Read More
Flooring, Hardwood
When To Replace Hardwood Floors
Hardwood floors are an iconic and valuable feature in many homes, known for their durability and timeless beauty. However, even the highest quality floors require some maintenance. Over time, you…
Read More