

 Free Shipping
*Applies to Ipe & Cumaru short length orders from 3–5 ft. Minimum purchase of $2,500 required. U.S. mainland only. Other conditions may apply.



A 4-Step Guide to a DIY Wood Paneling Project
Best Sellers

Posted on August 30, 2023 at 10:30 am
Table of Content
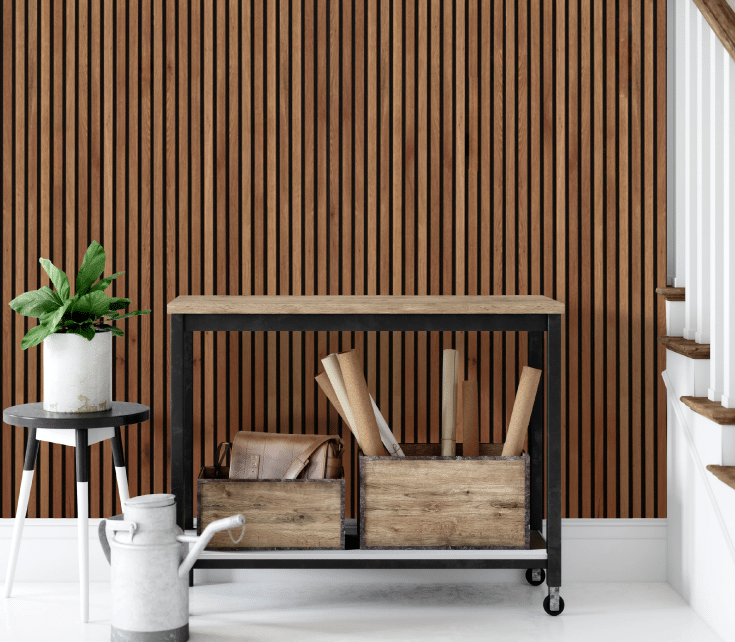
Are you tired of staring at plain, white walls? Eager to upgrade your room in a simple yet profound way? Say hello to the transformative power of wood wall paneling.
Crafting a cozy and warm interior aesthetic can be as easy as a DIY wood paneling project. As the leading provider of tropical hardwoods and other outdoor construction materials, Brazilian Lumber brings you an easy, manageable guide for DIY wood paneling projects, your passport to transforming your space into a haven of natural beauty.
Our DIY guide is designed to cater to all skill levels, making installing wood wall panels an accessible and manageable task. Whether you’re a seasoned DIY enthusiast or someone looking to dip their toes into the world of home improvement, our guide will help you navigate each step with precision and ease. Take a look!
Wood Wall Paneling

Wood wall panels are an excellent choice for adding warmth, texture, and visual interest to any interior or exterior space. Made from high-quality, sustainable wood species, these panels are durable, long-lasting, and environmentally friendly.
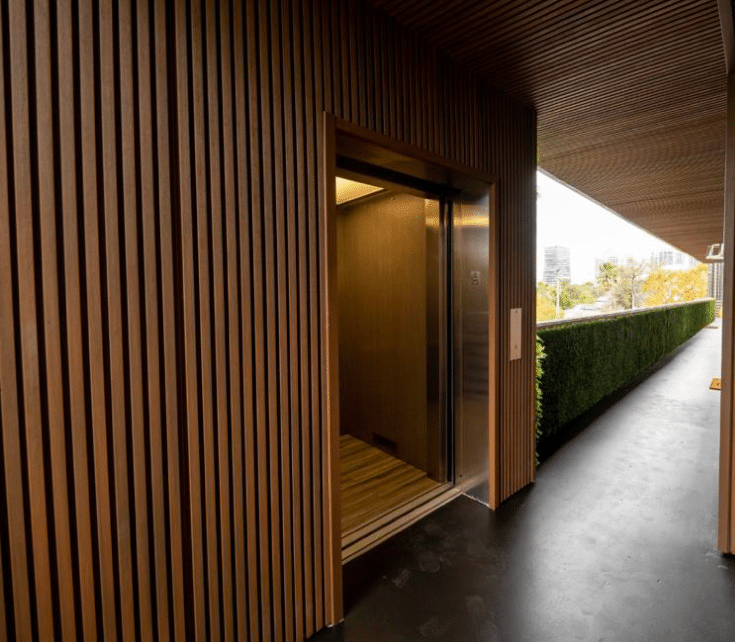
As a leading provider of wood wall paneling, we have the experience and capabilities to produce high-quality panels in the dimensions you need. Our team of experts can work with you to create unique, inspiring wall paneling solutions that will make your project stand out.

Materials Needed for DIY Wood Paneling Project:
- Grid wall panels
- Measuring tape
- Level
- Drill
- Screws
- Wall anchors
- Saw (if panels need to be trimmed)
Simple 4-Step Guide to a DIY Wood Paneling Project
Step 1: Preparations
Step 1.1: Choosing Your Wood
Before we dive into our guide, highlight the types of wood you might consider for your DIY wood paneling project. Brazilian Lumber offers a vast array of top-quality decking solutions, including composite decking, hardwood, and thermally modified wood.
Pro tip: if you plan to use composite decking and hardwood, these materials must be pre-drilled before screws are applied. However, if you opt for wood wall panels of thermally modified wood, you can easily install them with nails.
Step 1.2: Measurement and Planning
The success of your DIY wood paneling project greatly depends on accurate measurements. Measure the wall where you plan to install the panels to determine how many boards you need. Also, measure the height and width of each panel to ensure they fit correctly.
Whether you want a horizontal, vertical, or diagonal design, remember the goal is to cover the area entirely with panels.
Step 1.3: Preparing the Walls
Next, ensure your wall is ready for paneling. Clean it thoroughly to remove any dust or dirt. If you’re paneling over a painted surface, sand it lightly for better adhesion. Make sure the wall is dry before moving on to the next step.
Step 2: Pre-Drilling the Panels
If you’ve chosen composite decking or hardwood, it’s time to pre-drill your wood panels. Use a saw to cut the panels to the desired length. Next, pre-drill holes into the panels using a drill bit slightly smaller than the screws you will use. This will help prevent the wood from splitting when you attach the panels to the wall.
By pre-drilling, you ensure the screws will go in smoothly, reducing the risk of splitting the wood.
Step 3: Installation
Step 3.1: Install the first panel
Begin at the bottom of the wall and install the first panel. Place the panel in the desired location and use a level to ensure it is straight. Use screws to attach the panel to the wall’s furring strips. Use wall anchors to secure the panel if the wall is made of drywall or plaster.
Step 3.2: Install the next panel
Install the next panel by inserting the tongue of the panel into the groove of the previous panel. Use a level to ensure the panel is straight, and then secure it to the wall with screws.
Step 3.3: Repeat the process
Repeat inserting the tongue into the groove and securing the panel to the wall until you have installed all the panels.
Step 4: Finishing Touches
After installing all the panels, inspect the wall for any gaps. If you find any, you can fill them with wood filler. Once it dries, sand it down to achieve a smooth finish.
If the panels do not fit flush against the wall, you can finish the edges with molding or trim to create a seamless look. Lastly, if you want, you can apply a suitable sealant or finish to protect your beautiful new wall.
Elevating Your Space with DIY Wood Paneling
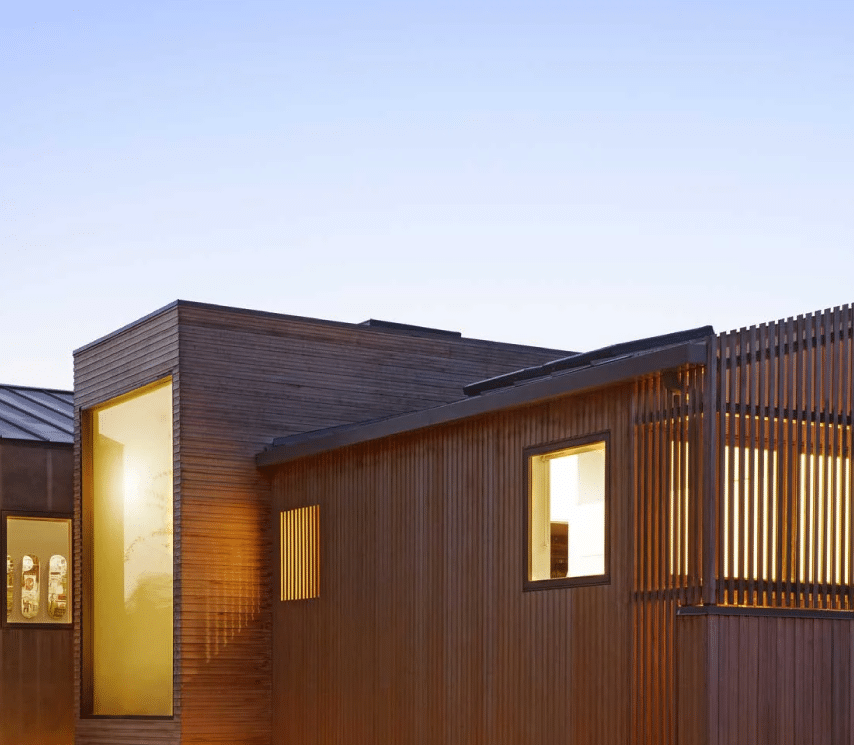
Wood paneling is the perfect solution for anyone looking to refresh their space quickly and naturally. By following these 4 easy steps, your DIY wood paneling project will surely succeed. At Brazilian Lumber, all our products for wood wall panels are 100% FSC certified, meaning they’re made from sustainable sources and completely natural.
Whether you choose composite decking, hardwood, or thermally modified wood, Brazilian Lumber is here to provide you with the highest quality materials and support to make your project a resounding success.
And there you have it! A 4-step guide that takes you through installing wood wall panels. With patience and diligence, you can turn any wall in your home into a stunning wooden masterpiece. Your new DIY wood paneling will add aesthetic appeal, warmth, and sophistication to your space.
Let Brazilian Lumber help you make your DIY wood paneling project a reality, ensuring an easy installation process and a result you’ll love for years.
We can mill customs sizes
Premium decking